5. Edit Images
After you capture your images they may need editing to increase the performance of your tests. To help you do this Eggplant Studio contains an Image Editor. The Image Editor provides a variety of tools that can help you optimize your images searches with options such as specifying colors the test should ignore, cropping the image, erasing pixels or maybe completely removing the background using our AI auto-mask tool. We cover them in a little more detail below.
Opening the Image Editor
To open the Image Editor (shown below) follow these steps:
- Select an image from your test suite. VS Code will display the original image without any edits including references to the colors you specified to keep or ignore, or erased pixels.
- To enable the Image Editor, click the pencil icon in the top right of VS Code above the image.
- When you finish editing your image, click Save to ensure you do not lose your changes.
Using the Image Editor toolbar
Here is a quick overview of the most frequently used Image Editor tools. The changes you make to your images with these tools affect the performance of your tests when they run. For more in-depth explanations of the tools,
see Image Editor tools in the Eggplant Functional documentation. This is due to the fact that Fusion Engine provides the underlying script execution engine that runs your test script.
-
Crop tool - a simple method to reduce the size of an image so that the test focuses on the precise element you wish to interact with in your script.
-
Keep colour - prioritize a specific color in your test image.
-
Ignore colour - instructs Fusion Engine to ignore a specific color in your image.
-
Erase tool - mask (or hide) pixels in your image to focus the test runner on the area of your image which is the most important.
-
Restore tool - works hand-in-hand with the erase tool, to restore (or unmask) erased pixels.
-
Auto mask tool - an AI-driven tool that automatically masks (or hides) the background, to help improve accuracy in your test script.
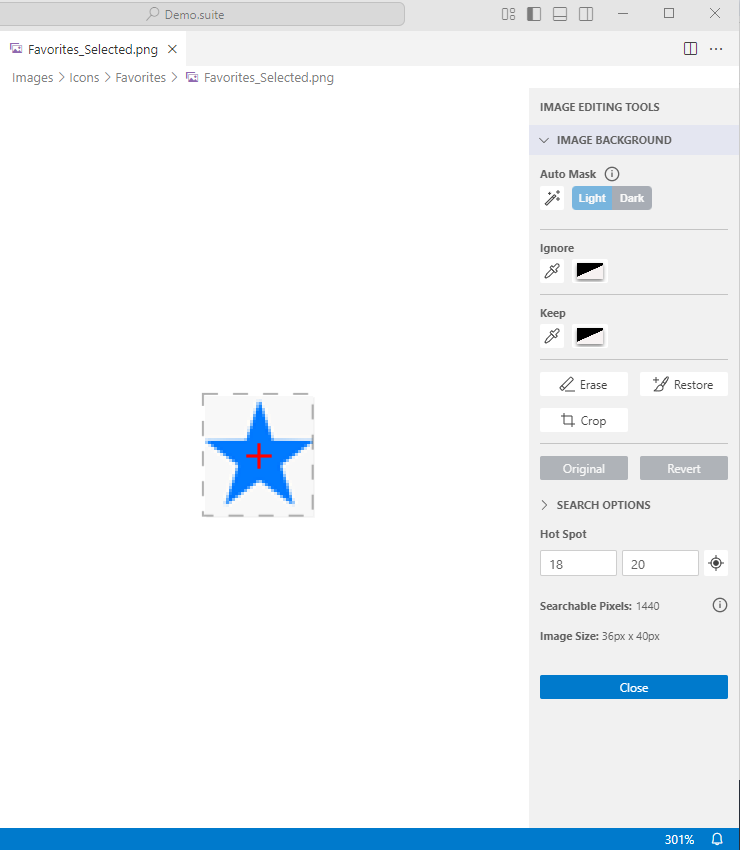
Image Editor toolbar