Eggplant Generator Overview
Congratulations! If you are here, you are ready to start using Eggplant Generator. You start by uploading your requirements document and any supplemental documents to Eggplant Generator, which then generates a collection of requirements and test assets. The collection makes it easy for you to trace a requirement through to its associated tests. Once the collection is generated, these assets are available for you to download.
You can watch a demo of Eggplant Generator in action here.
You can learn more about collections, and another important topic in Eggplant Generator: context documents, in What are Collections and Context Documents.
But first, let's get familiar with the Eggplant Generator web interface, and then look at the workflow for importing requirements and generating assets with Eggplant Generator. For an explanation of how Eggplant Generator processes requirements documents and generates assets, see How Eggplant Generator Works.
Getting to Know Eggplant Generator
The Eggplant Generator menu displays on the left side of the page. The menu options available are listed below.
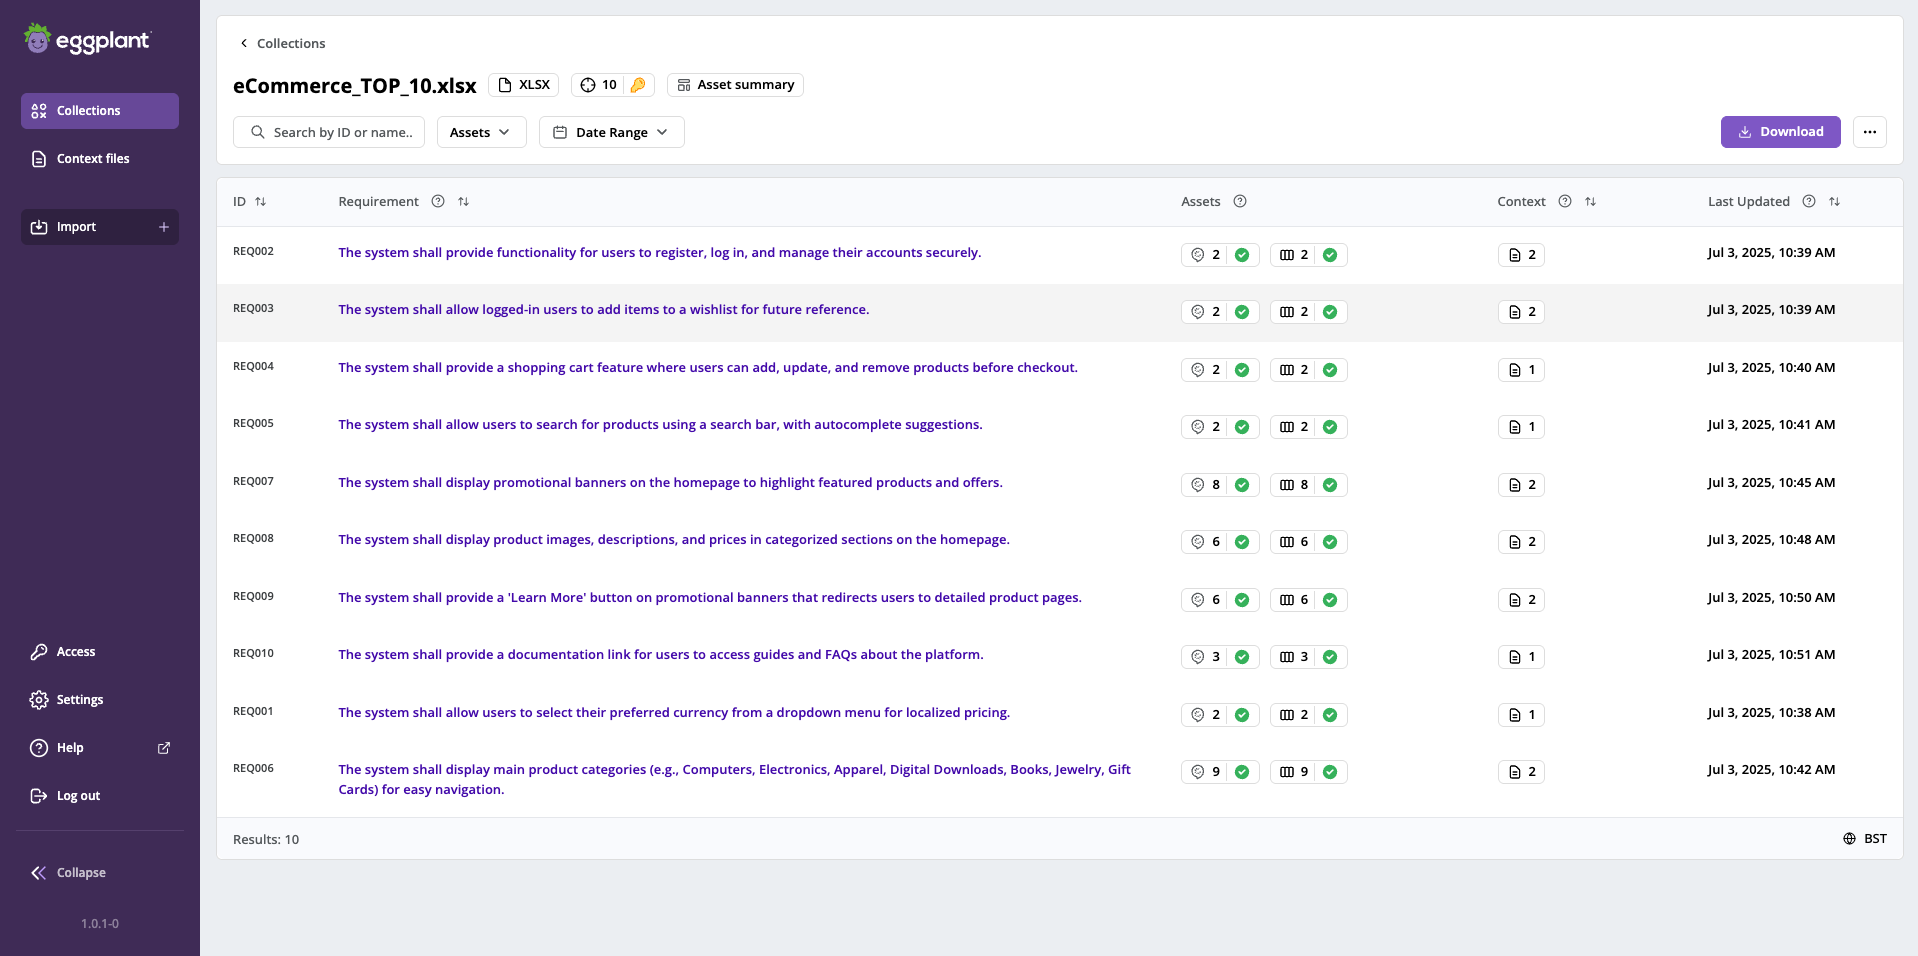
The Eggplant Generator navigation menu with the Collections page
In the top part of the menu:
- Eggy: This button always takes you to the Collections page (described below).
- Collections: This button also takes you to the Collections page.
- Import +: This button displays a submenu where you can choose to import Requirements or Context files and takes you to the appropriate page based on your choice. Note that clicking the Import button in the top-right corner of the Collections page takes you directly to the Import requirements document page.
In the lower part of the menu:
- Settings: Takes you to the configurable settings for Eggplant Generator.
- Help: Takes you to the Eggplant Generator help.
<<Collapse: This toggle shows or hides [>>] the menu button labels.- Below the Collapse toggle is the product version number.
The Eggplant Generator Workflow
Below is a high-level summary of the workflow you follow when you use Eggplant Generator to import documents to generate a collection of requirements and test assets. The workflow provides links to information about how to perform each task.
You begin this process by clicking Import in the menu on the left and choosing Requirements, or on the Collections page (as described below):
- Import a requirements document, which involves selecting a file, the columns that contain the requirement ID, description, other optional information you want from the file, such as a requirement name, and any context documents (optional) you want Eggplant Generator to use when it generates a collection.
- Create the collection and generate assets from your requirements document.
- View your collection of assets.
- Download your test assets.
Eggplant Generator only supports the import of requirements documents that are in Microsoft Excel (.xlsx) or comma-separated value (.csv) formatted files. As part of the import process, you select the information you want from columns in these files.
Click Next below to continue to What are Collections and Context Documents? to learn about these key concepts in Eggplant Generator.