画像コレクションを作成する
An Image Collection is a folder of related images that are all acceptable versions of a basic image for use in your Eggplant Functional testing. 例えば画像コレクションには、ボタンの「通常の」画像、選択されたバージョン、無効化されたバージョンが含まれる場合があります。
画像コレクションを作成するには2通りの方法があります:
どちらの方法も以下に手順を追って説明します。
Step by Step: Creating an Image Collection During Script Creation
- 画像をキャプチャする
Open a Viewer window showing an active connection to your system under test (SUT). Capture Mode(キャプチャモード)を入力し、キャプチャエリアに移動してキャプチャする画像を選択します。 この場合、ブラウザウィンドウが有効な状態で開くため、閉じるボタンが赤く表示されます。
スクリプト内で画像に実行するアクションを選択しします。 For example, choose the Click icon on the Viewer window to capture an image of the close button on a window and click it.
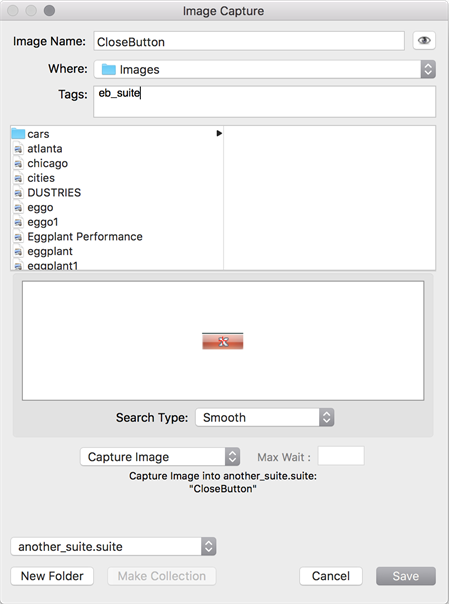
The Image Capture panel opens. 画像に名前を付けます。 命名するとき、これが画像コレクションの名前になることに留意してください(後に変更することは可能です)。 Add Image Tags, if you're using them. Save(保存)をクリックします。 Three things happen simultaneously:
- The captured image is saved into the images folder of your suite with the name specified.
- The action executes on the SUT (in this case, the close button is clicked on the open browser window).
- A line of SenseTalk code is inserted into the script (in this case, Click "CloseButton" ).
スイートでは、キャプチャした画像がImages(画像)ペインに現れ、SenseTalkコードが現在のスクリプトのスクリプトエディタに表示されます。
- 2番目の画像をキャプチャしてコレクションを作成する
SUTで、画像の2番目のインスタンスが画面に表示されていることを確認します。 In the Viewer window, go into capture mode, and move the capture area so that it highlights the image you want to capture.
Capture a second image using the Capture Image icon in the toolbar of the Viewer window.
The image capture panel opens. パネルのファイルブラウザエリアで、最初にキャプチャした画像を選択します。 The Make Collection button at the bottom of the panel is enabled. Make Collection(コレクションを作成)をクリックします。
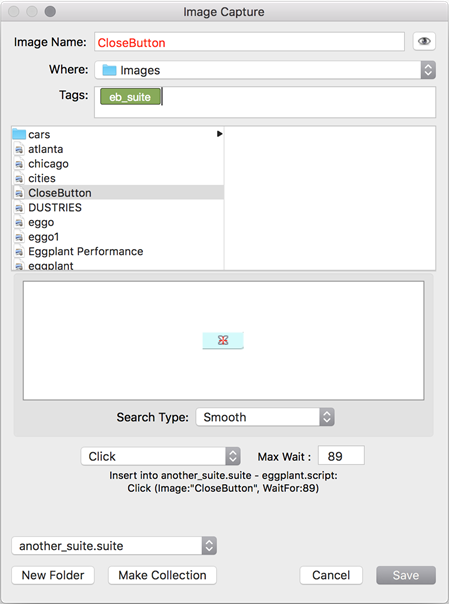
This creates a collection folder within your images folder, and move the first image into the collection folder. Rename the image uniquely (in this case CloseButton_Inactive), to distinguish it from the first image. Then click Save.
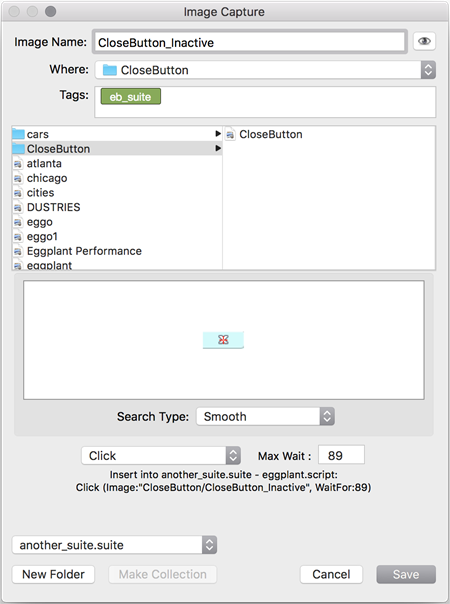
当該画像コレクションが、スイートのImages(画像)ペインとImage Viewer(画像ビューア)の両方に表示されるようになります。
Step by Step: Creating an Image Collection During Run Time
This section talks about how to create an image collection during runtime using the Image Update Tools.
以下のスクリプトと以前キャプチャした画像を、この例で使用していきます:
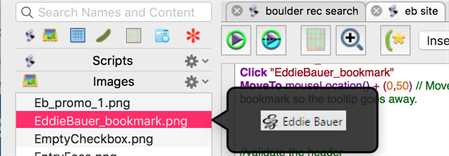
If you are doing this intentionally to create a collection, then open a remote connection in the Viewer window that is active, and bring up the instance of the image that you want to add to a collection using the initial image. 問題となっている画像をリファレンスするコードのラインを実行します。
またはスクリプトを実行して、画像が現在の検索設定では見つからない事態となり、画像コレクションを利用してその問題を解決する場合は、以下の手順を行います。
- When the image search fails, the Image Update panel opens.
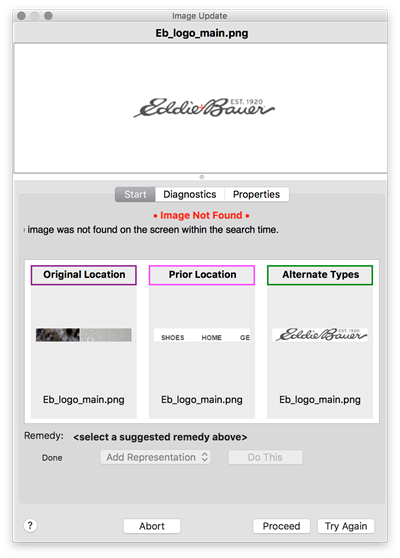
- Select one of the images from the center of the panel. The Remedy changes depending on the option you choose. Available remedies are:
- Apply Fix: This option performs the selected fix to the current image.
- Replace Image: This option automatically recaptures the image without changing any of its properties. The search is then run again.
- Add Representation: This option adds a new representation of the image, with a different name, to the current suite. The new representation is added to the same collection as the original image.
- Capture to Helper: This option captures a new version of the desired image and saves it in a helper suite.
Select the Add Representation Remedy, then click Do This. This creates an image collection or adds to an existing collection.
You can also click the Diagnostics tab to get more information about the results of the tests Eggplant Functional has run to find your image:
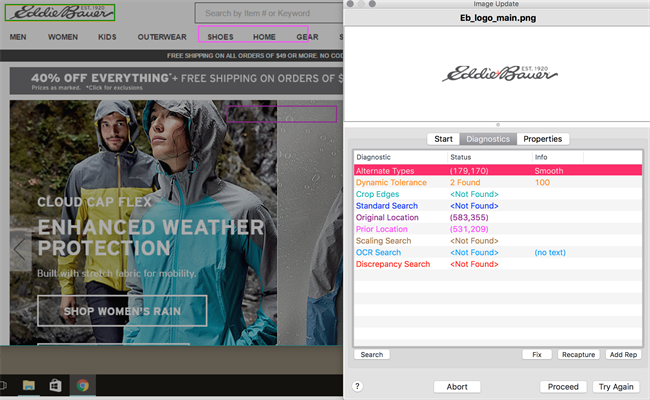
- The Image Update panel conducts a variety of diagnostic searches to see which search types can be used to find the image, the results of display in the panel.
The locations of found images are highlighted in the Viewer window in colors corresponding to the different search types and settings that the Image Update panel is using.
It is possible that multiple search types will find the image, or that multiple instances of the same image will be found with a single search type.
At this point there are a few options for how to create the image collection.
- If there is only one instance found and you wish to use that search type to create your image collection, select it from the list. This enables the Fix, Recapture, and Add Rep buttons.
Choose Add Rep, which stands for Add Representation. This is what creates the collection folder within the images folder of the current suite and adds this newly captured image to it.
Click Try Again to continue execution of the script using the newly created image collection.
- Select the highlighted square in the Viewer window that corresponds with the image you want to use to create the collection. Click the arrow to the right of the image capture box to open a drop-down menu.
Select Add Representation <Image Name> and Try Again to create the image collection and continue execution of your script using that new collection.
The name used for the new image is determined by what is in the New Representation name field on the Start tab of the Update Image panel. You now have an image collection, comprising multiple images, to use in your searches.
- If there is only one instance found and you wish to use that search type to create your image collection, select it from the list. This enables the Fix, Recapture, and Add Rep buttons.