Recording Movies in Eggplant Functional
Creating a movie of a test in progress in Eggplant Functional (EPF) can be useful in the development process. If an error pops up during a test, developers can use a video of the test run to troubleshoot.
You can record tests on any system under test (SUT) from any machine running Eggplant Functional. When you start recording a movie, any actions taken on the SUT are recorded, including actions that are not in Eggplant Functional.
Movies are saved as .MP4 files by default. You can define the compressionRate of a recording. The default data rate is 1. This value must be greater than 0. You can set the rate lower to decrease the data rate or higher to increase it, with a corresponding change in video quality.
Prior to Eggplant Functional 21.1.0, movies were saved in .MKV format. If you need to change the default setting back to .MKV, contact Eggplant support.
Record a Movie
There are three ways to start recording a video in Eggplant Functional. By default, movies save into your Documents folder. Note that if recording starts from the Eggplant Functional interface or from the Control Menu, it won’t stop when script stops. If recording starts from a script and isn't explicitly ended with a StopMovie command, the recording stops when the script ends.
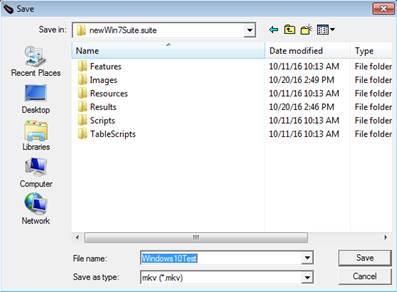
The Save video dialog in Eggplant Functional opens from the Control Menu or the Capture Window Toolbar
From the Control Menu
- Go to Control > Record Movie
- Give the movie a name and choose where to save it.
- Select Control > Stop Recording Movie to end your recording.
From the Capture Window Toolbar
- Click Record Movie.
- Give the movie a name and choose where to save it.
- Click Stop Recording to end your recording.
The Record Movie button is not displayed by default. Choose Window > Customize Toolbar to add it.
From a Script
This option gives you the most control over recording. To record a specific section of a script, place it in between the StartMovie and StopMovie commands:
StartMovie "/path/to/record/the/movie"
//Section of test script you want to record
StopMovie
Note that if a script calls for a change in SUTs, the video will stop recording. You must then restart recording.
Controlling the Frame Rate
The default frame rate for recording is 10 frames per second. You can change this in a script using the framesPerSecond option.
StartMovie "/path/to/record/the/movie", framesPerSecond: 5
The higher the frame rate, the larger the video file size. A lower frame rate can save space but may not show screen activity fully.
Extra Time
If your movie fails to capture the complete script run, you can add extra time to the recording:
StartMovie "/User/Documents/MovieFile", framesPerSecond:5, extraTime:10
The default is five seconds.
Image Highlighting
ImageHighlighting controls whether or not search rectangles show up in the recording. When added to a script, this overrides the Image Highlighting setting from the Run menu.
StartMovie "/User/Documents/MovieFile", imageHighlighting:Yes