Working with Custom Scripts in DAI
Eggplant DAI provides the capability to upload custom shell scripts, such as shell scripts (.sh) and batch files (.bat), allowing you to assign them to test configs for execution. This feature allows you to switch branches at runtime, depending on the version or environment of the target application, providing flexibility in testing across different application versions or environments.
The Custom Scripts feature is disabled by default. As with any command-line level execution capability, security is an important consideration. For information about enabling the Custom Scripts feature, see the Custom Scripts page. For general information about how you can secure your DAI setup, see Securing You DAI Installation.
To start using this feature, you need to:
- Enable Custom Scripts
- Add a custom script
- Assign the custom script to test config
- Run the test config
Additionally, you can edit, set as default or delete an existing custom script.
Enable Custom Scripts
Enabling the Custom Scripts feature in an on-premises Windows DAI Server deployment involves editing the DAI configuration file (config.yml) as described in the steps below.
For DAI container deployments or other production environments, please contact our Customer Support team to enable this feature.
-
Stop the Digital Automation Intelligence Service through the Windows Services Manager.
-
Go to
C:\ProgramData\Eggplant\Digital Automation Intelligenceand open theconfig.ymlfile in a text editing tool. -
Within the
config.ymlfile, locateENABLE_CUSTOM_SCRIPTSunder its parent key,env:. -
Enable the feature by setting the
ENABLE_CUSTOM_SCRIPTSvalue to1as shown below. It is disabled (set to0) by default.config.ymlenv:
ENABLE_CUSTOM_SCRIPTS: 1 <Custom Scripts are enabled>ノートNote your
config.ymlfile may contain other entries under theenv:key. -
Save the
config.ymlfile. -
Restart the Digital Automation Intelligence service in the Windows Services Manager to run the DAI Server with the Custom Scripts feature enabled.
Add a Custom Script
You must add a custom script in DAI before you can assign it to a test config.
To add a custom script, follow these steps:
-
Log in to Eggplant DAI.
-
Go to System > Custom Scripts. The Custom Scripts page opens, displaying any existing scripts, or it shows no scripts if none have been added yet.
-
Click + New custom script.
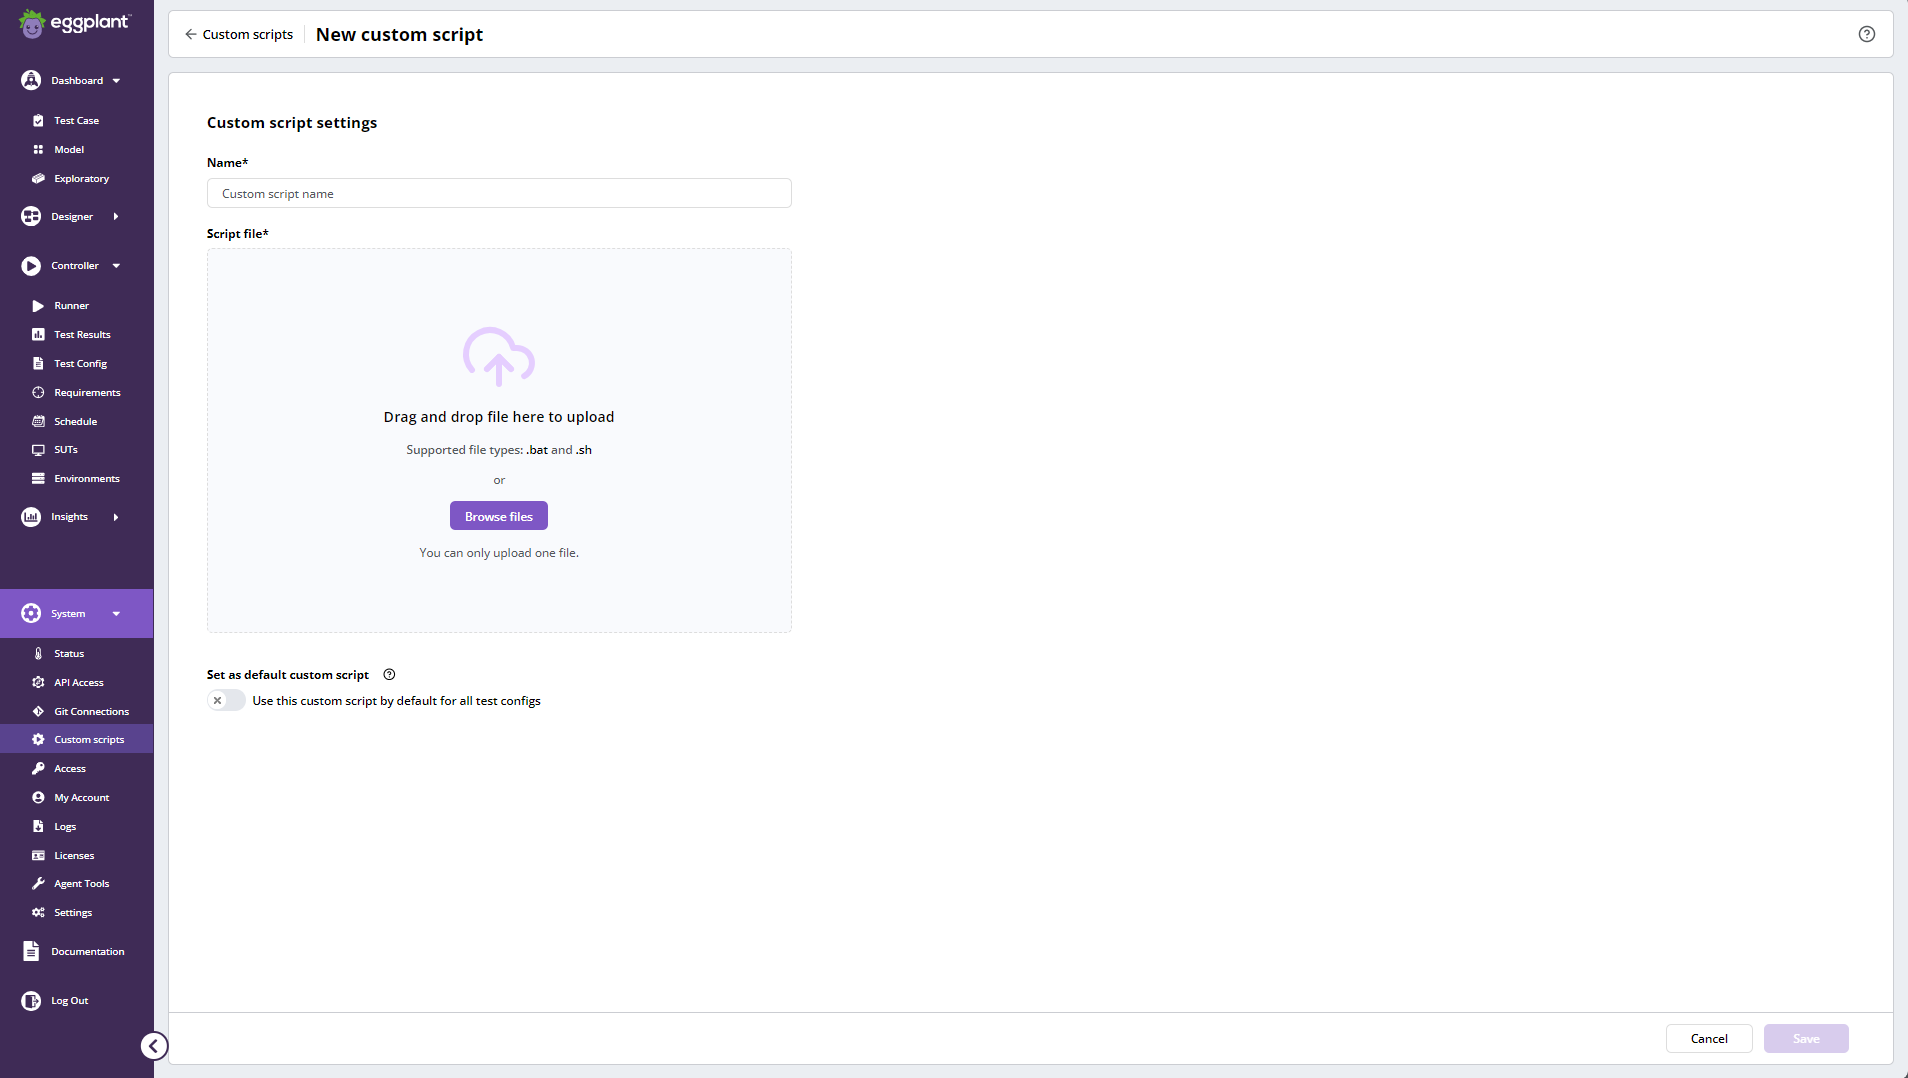
Add new custom script page
-
In the Name box, enter a unique name for the custom script. Script names are limited to 100 characters and cannot contain the following characters:
, \ ; : " ' { }. -
In the Script file, select a file to import. You can either click the Browse files button to search for the file or drag and drop it directly from your computer folders.
ノート-
The supported file types for import are batch (.bat) and shell (.sh). Ensure the file is formatted correctly for its file type.
-
Ensure the file size does not exceed 1000 bytes (1 kilobyte).
-
Only upload one file at a time.
Extra Information for Ubuntu
-
An issue with the drag and drop from the desktop to a browser exists in Ubuntu 20.04.6 LTS. To resolve this, you need to install the Desktop Icons NG (DING) extension from GNOME Extensions.
-
This issue does not occur in Ubuntu 24.04.1 LTS, as drag and drop from the desktop to the browser works without the need for any additional extensions.
-
-
For the Set as default custom script option, enable the Use this custom script by default for test configs toggle (set it to on) if you want this script to be the default custom script for all your test configs. This option is disabled by default.
ノート-
The custom script will be executed on the first run for all test configs in the runner when it is set as the default.
-
If the custom script is not set as the default, it can be assigned to specific test configs via their settings.
-
Only one custom script can be assigned and executed for a test config. If a test config has a custom script assigned and the default option is enabled, the runner will execute the assigned script instead of the default.
-
-
Click Save.
Assign a Custom Script to a Test Config
You can assign a custom script to a specific test config by navigating to the Advanced Settings tab of the test config.
If a custom script is set as the default, it will automatically be assigned to all test configs. However, you can still assign a specific custom script to a test config, overriding the default setting.
Run a Test Config
You can run a test configuration in the Runner by navigating to Controller > Runner and clicking the ![]() Run button for the test configuration you want to run.
Run button for the test configuration you want to run.
The custom script will be executed first, prior to running the main test script.

A test config run with a custom script
Edit a Custom Script
To edit an existing custom script, click the custom script name in the Name column or select Edit from the row menu.
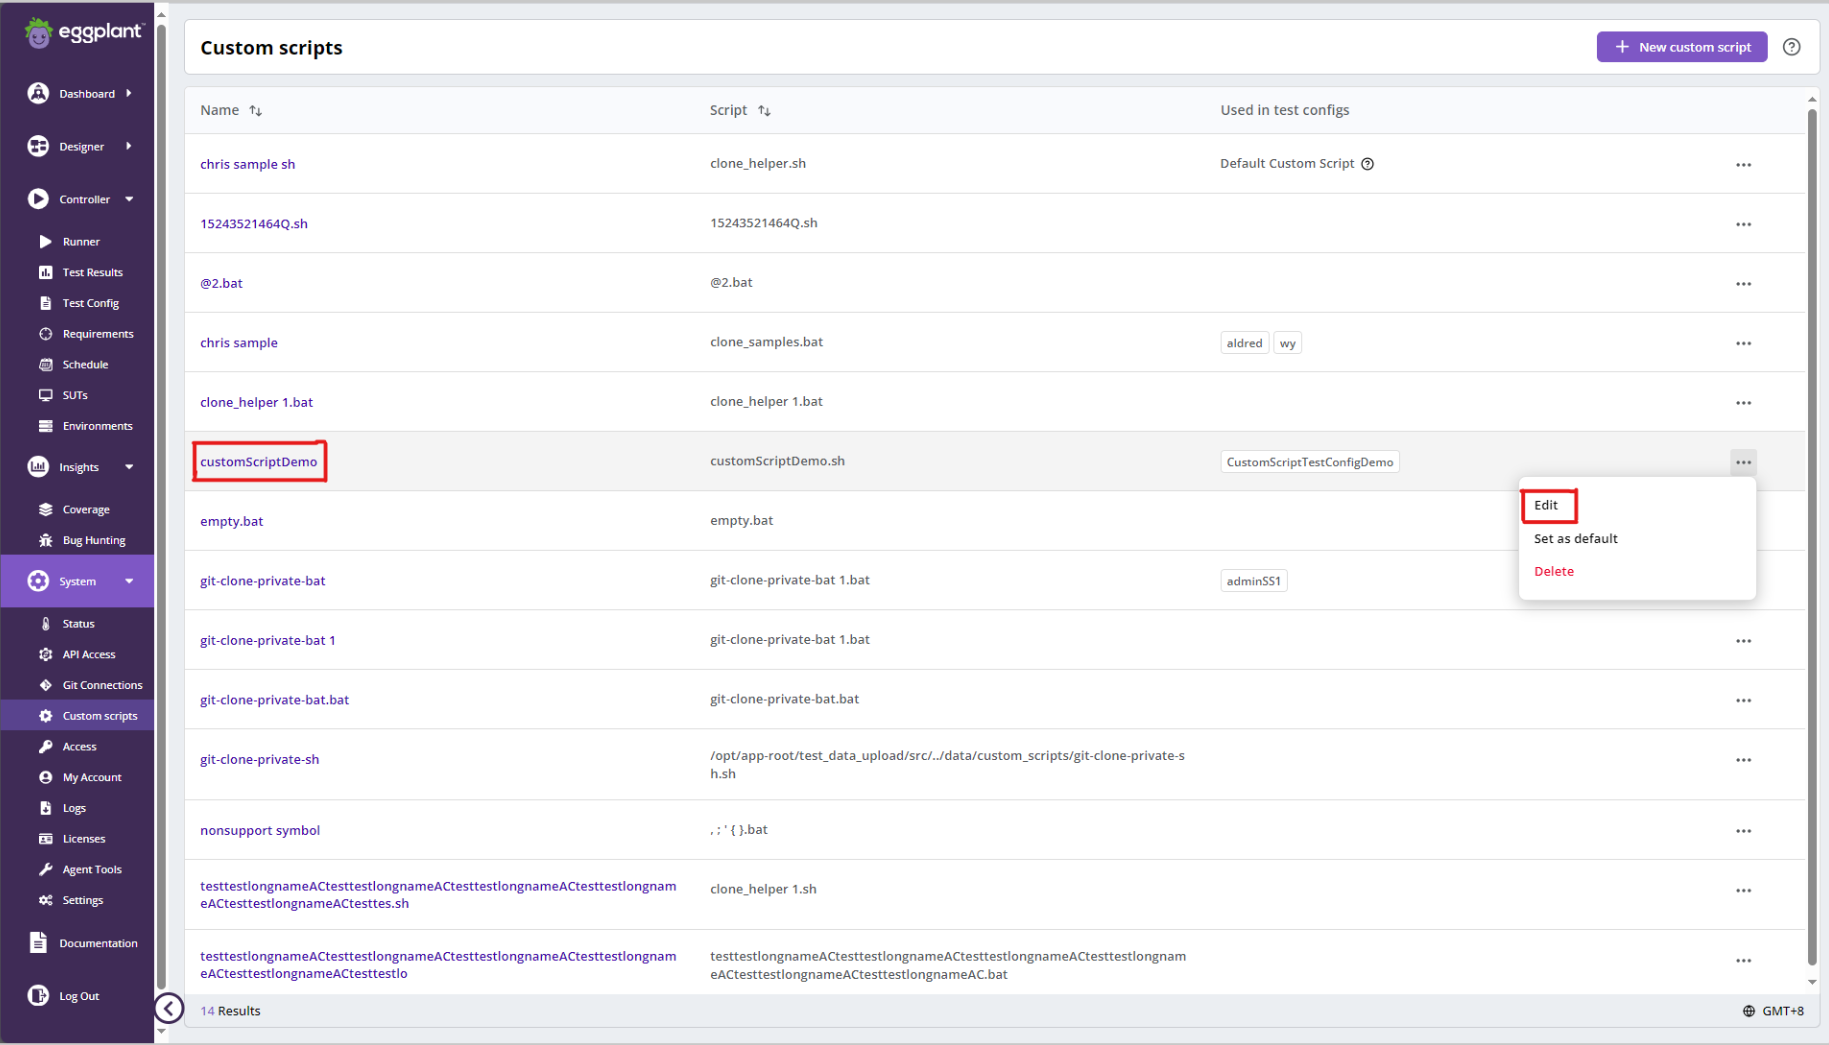
Edit a custom script
You can modify various details, such as the script name, the script file, or toggle the button to set or unset the default custom script. After making the necessary changes, click Save to apply the updates to the custom script.
Additionally, you will see the Used in Test Configs section, which displays:
-
When the custom script is set as the default.
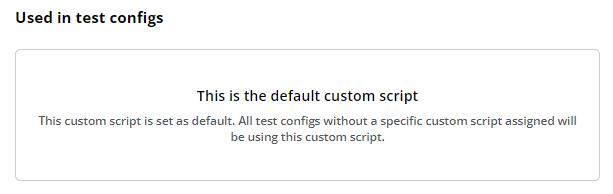
Default custom script card
-
When the custom script is not assigned to any test configs.
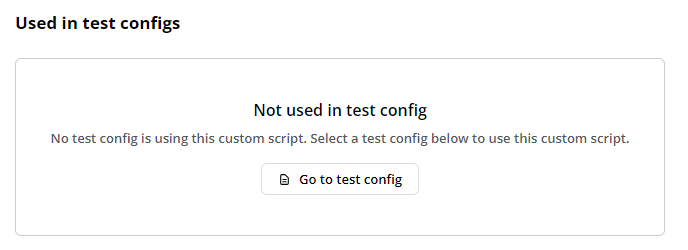
Custom script not assigned to a test config card
-
When the custom script is assigned to one or more test configs.

Custom Script assigned to a test config table
Set a Custom Script as the Default
There are two ways to set an existing custom script as the default custom script for all test configs:
-
Select Set as default from the row menu.
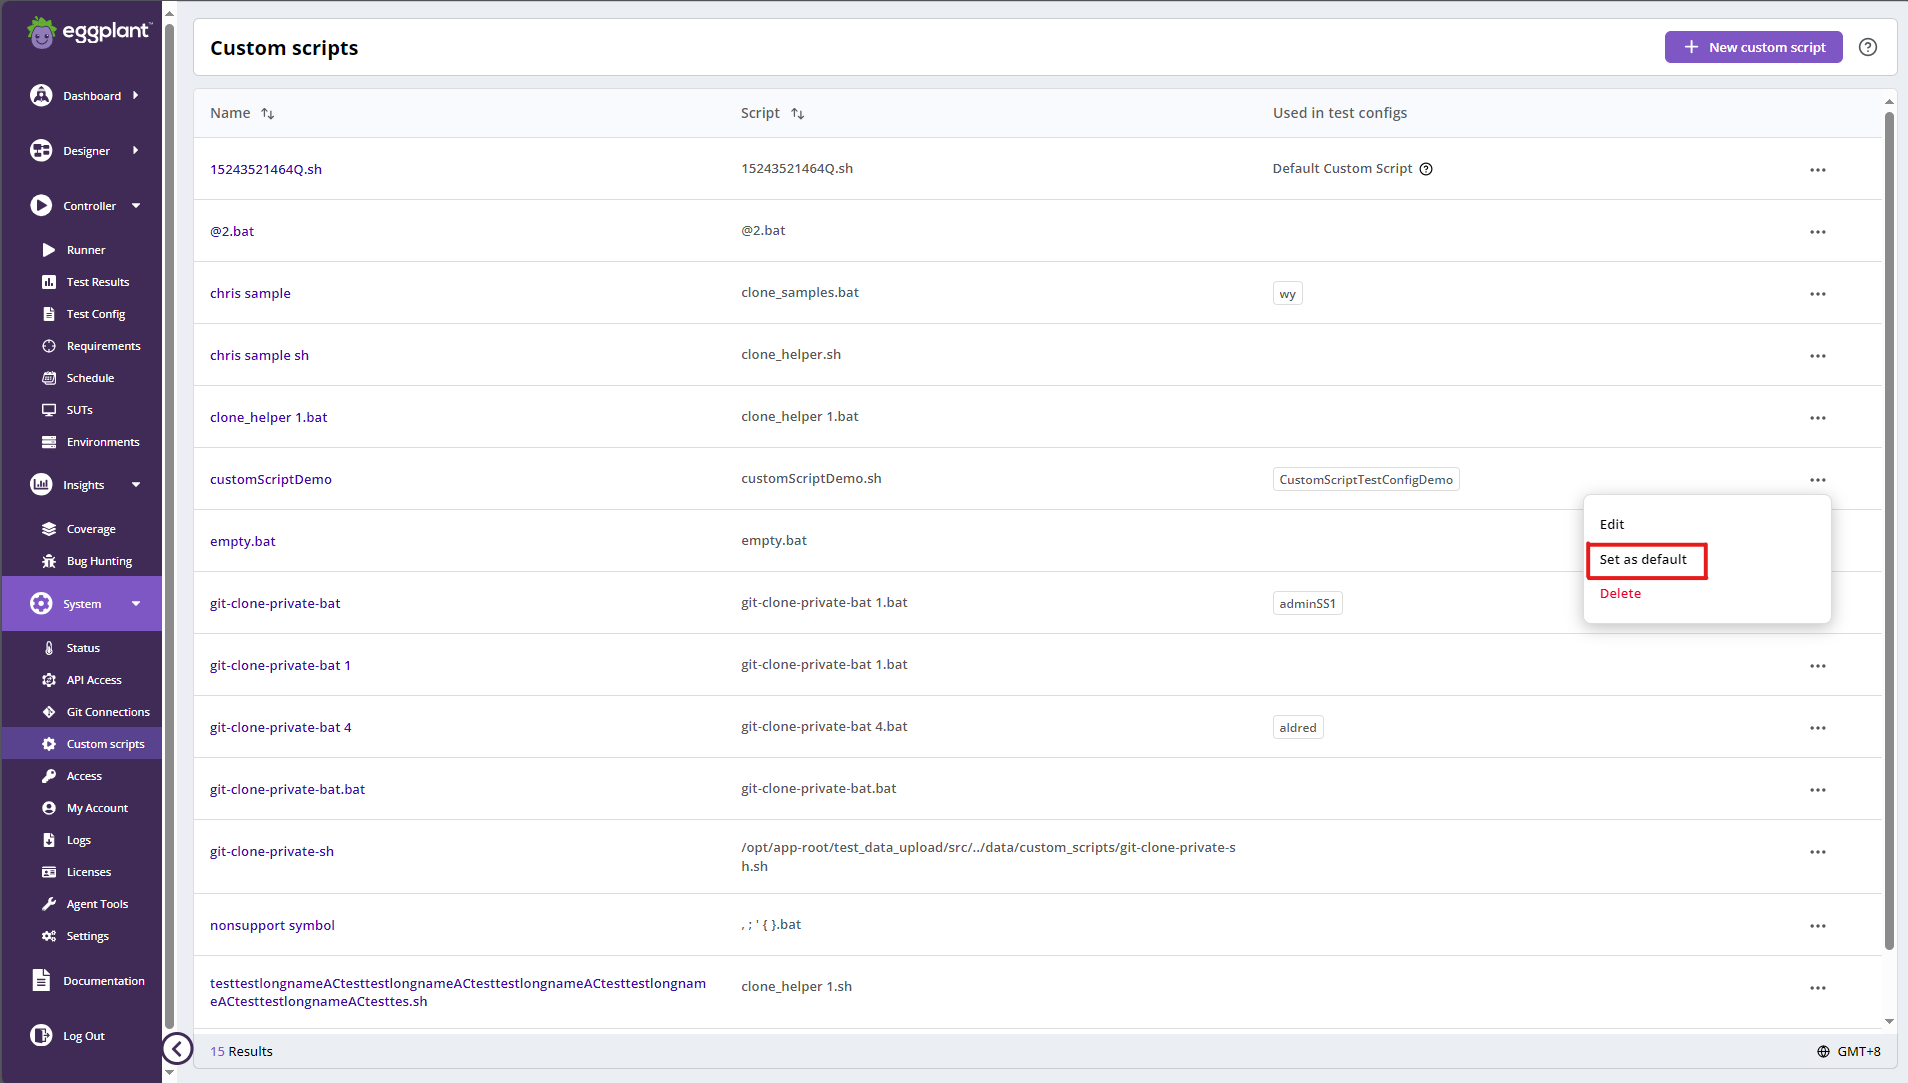
Set a custom script to be the default
- Toggle the button to On in the Set as Default field in the edit page.
Setting a new custom script as default will override the previous default custom script. As a result, all test configs will run the newly set default custom script.
Delete a Custom Script
There are two ways to delete an existing custom script:
-
Select Delete from the row menu.
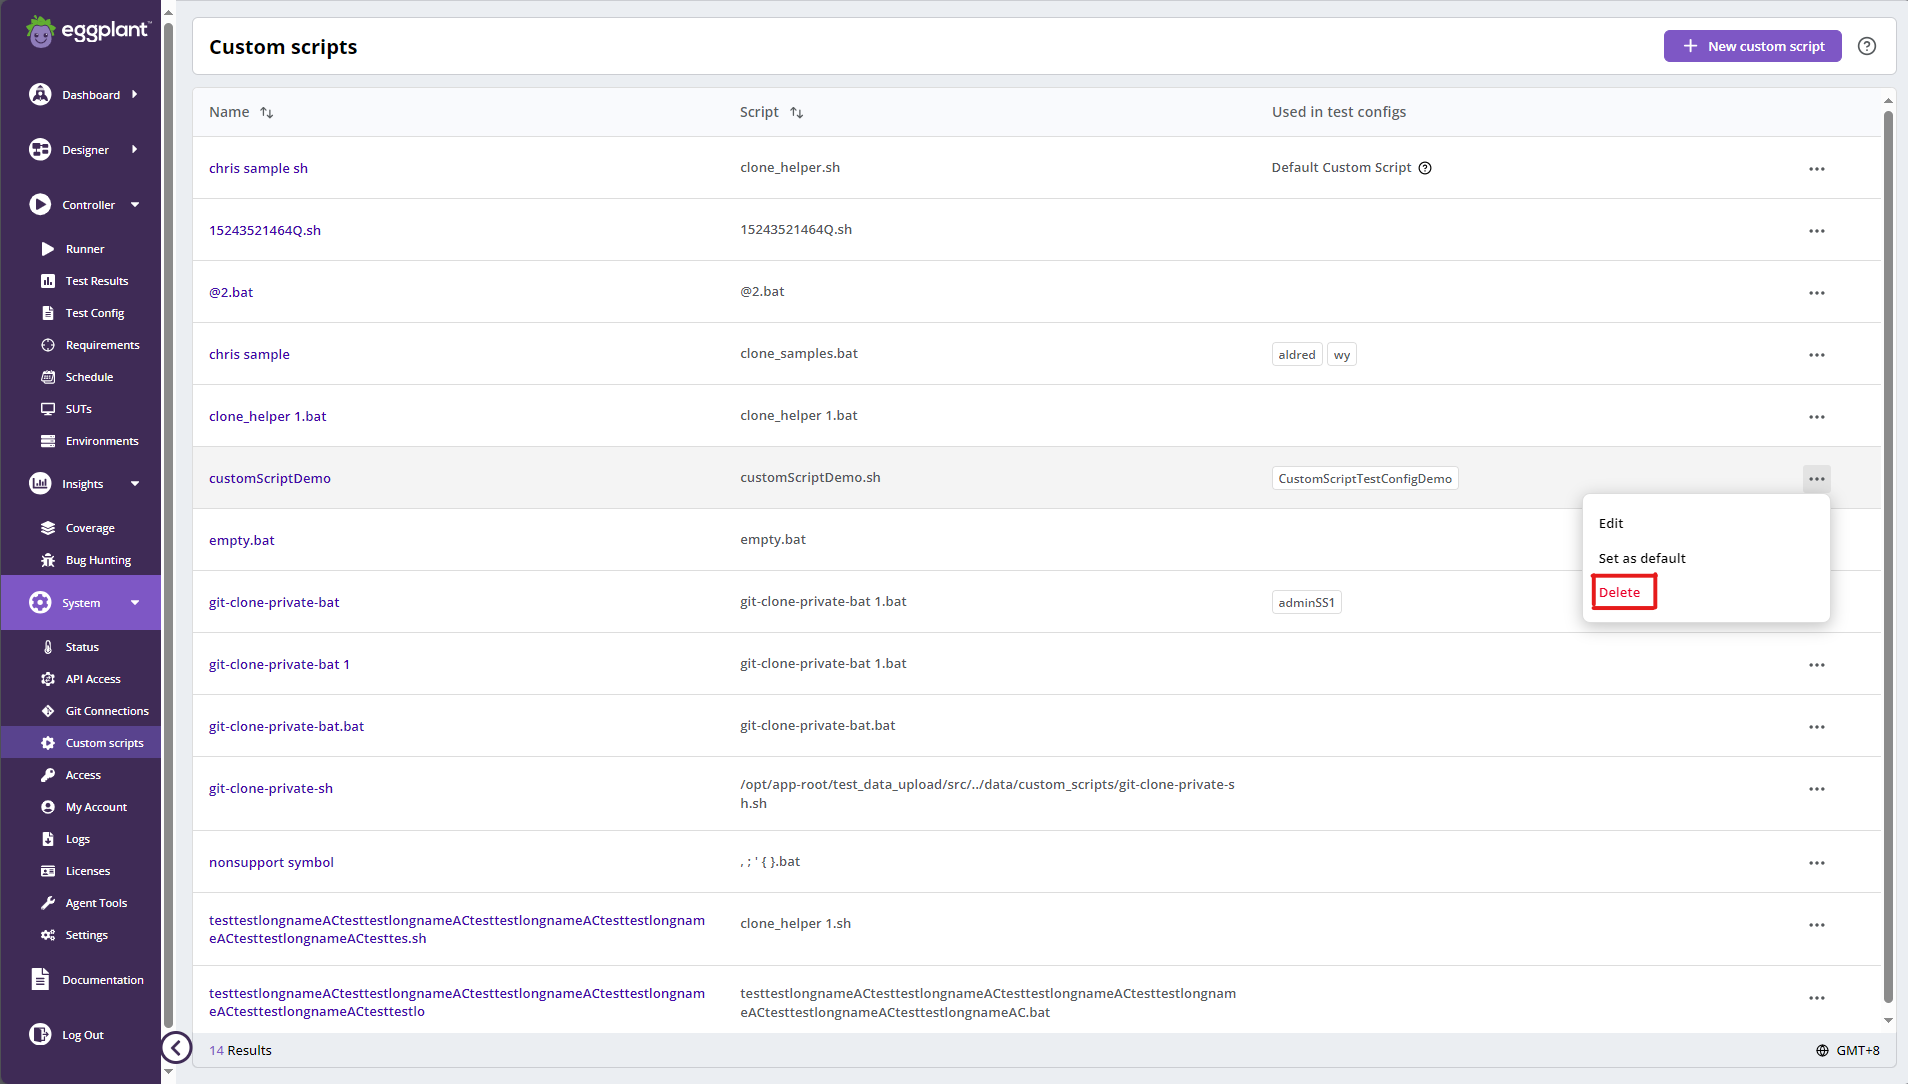
Delete a custom script
-
Click Delete on the Custom script settings page.
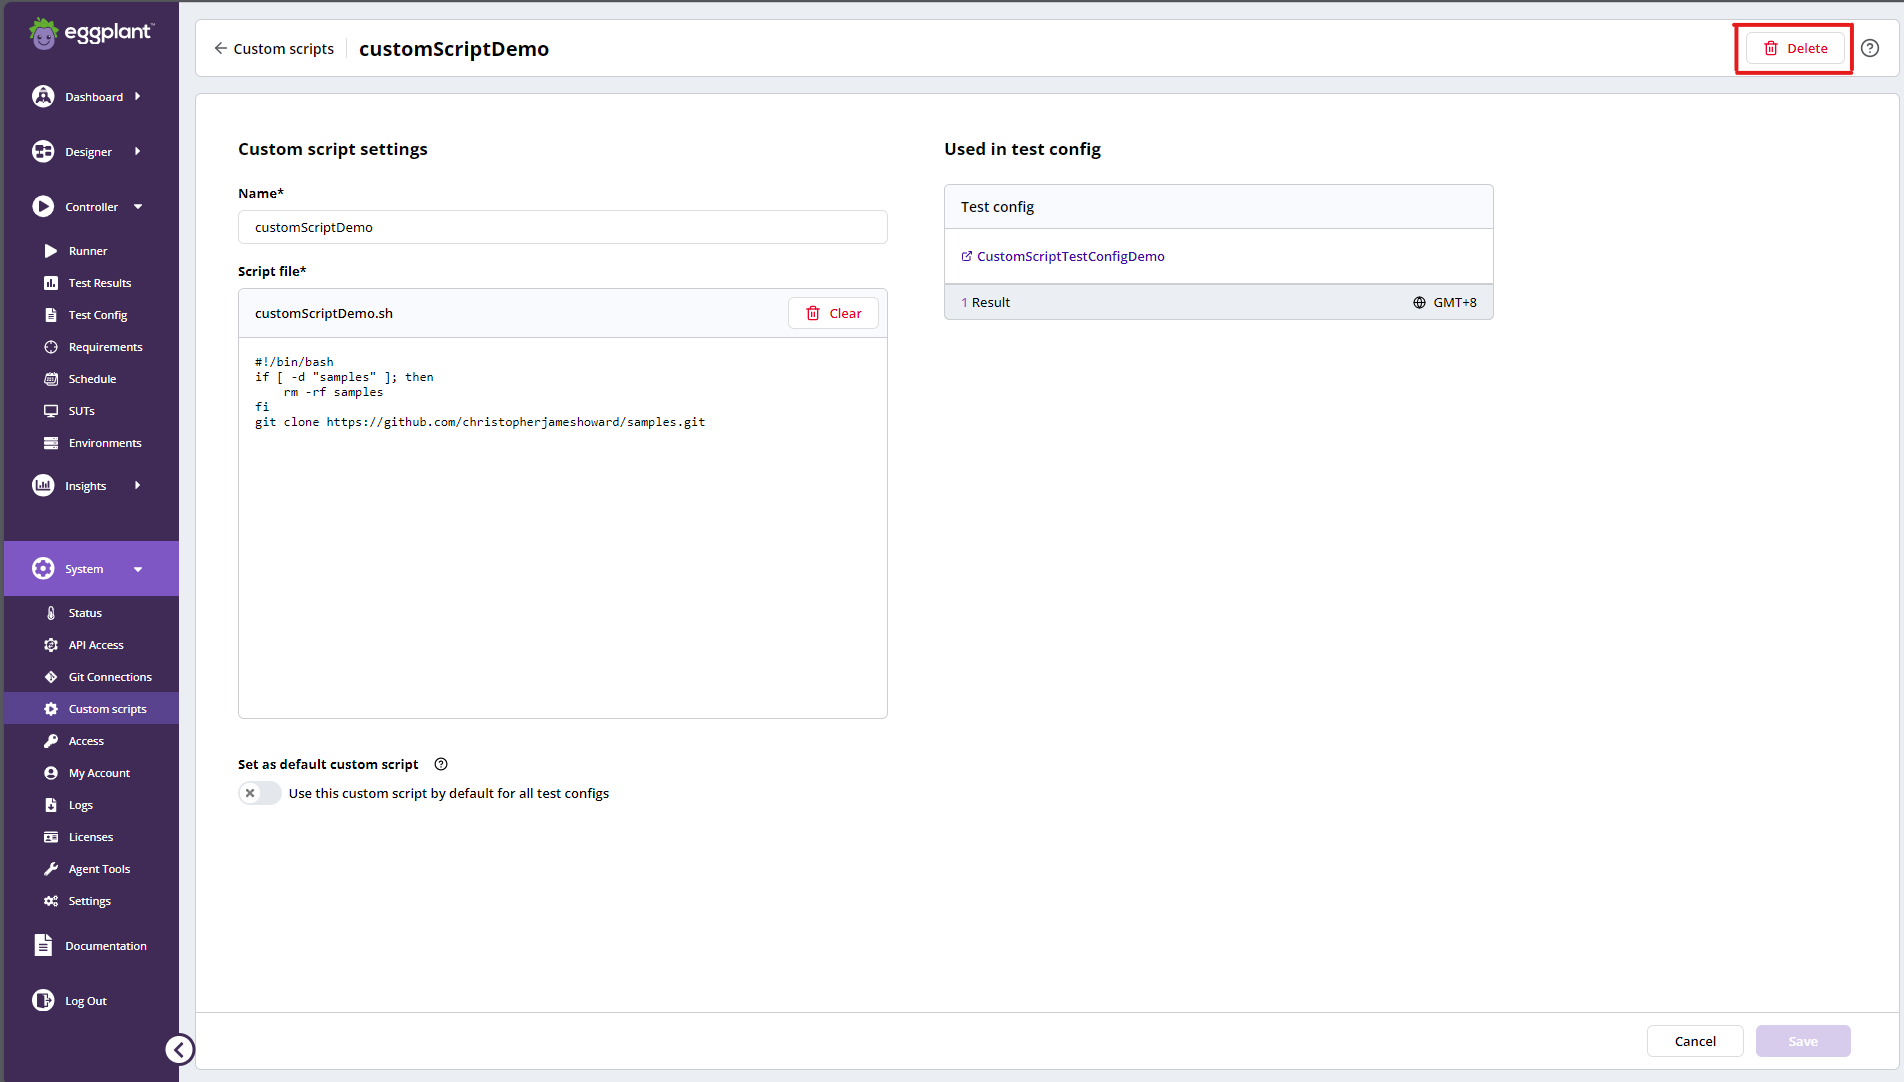
Delete button on the Custom script settings page
-
A confirmation dialog box appears, asking you to confirm the deletion. Click Delete to proceed.
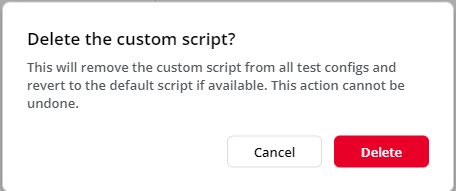
Delete Custom Script Confirmation Modale
Deleting a custom script removes the script from all test configs and reverts the test configs to use a default script when one is specified. This action cannot be undone.