User Interface Tour
Eggplant Monitoring lets you perform consistent and repeatable testing of your website via its stable testing platform. It provides additional modules that allow you to set download speeds on monitors such that every test that you run has the same download speed. This is particularly useful to make sure your testing is reliably consistent as it prevents variations in tests that are normally caused due to congestion or the number of users involved.
Initial Login
-
To launch the Monitoring Portal navigate to the Passport Login page.
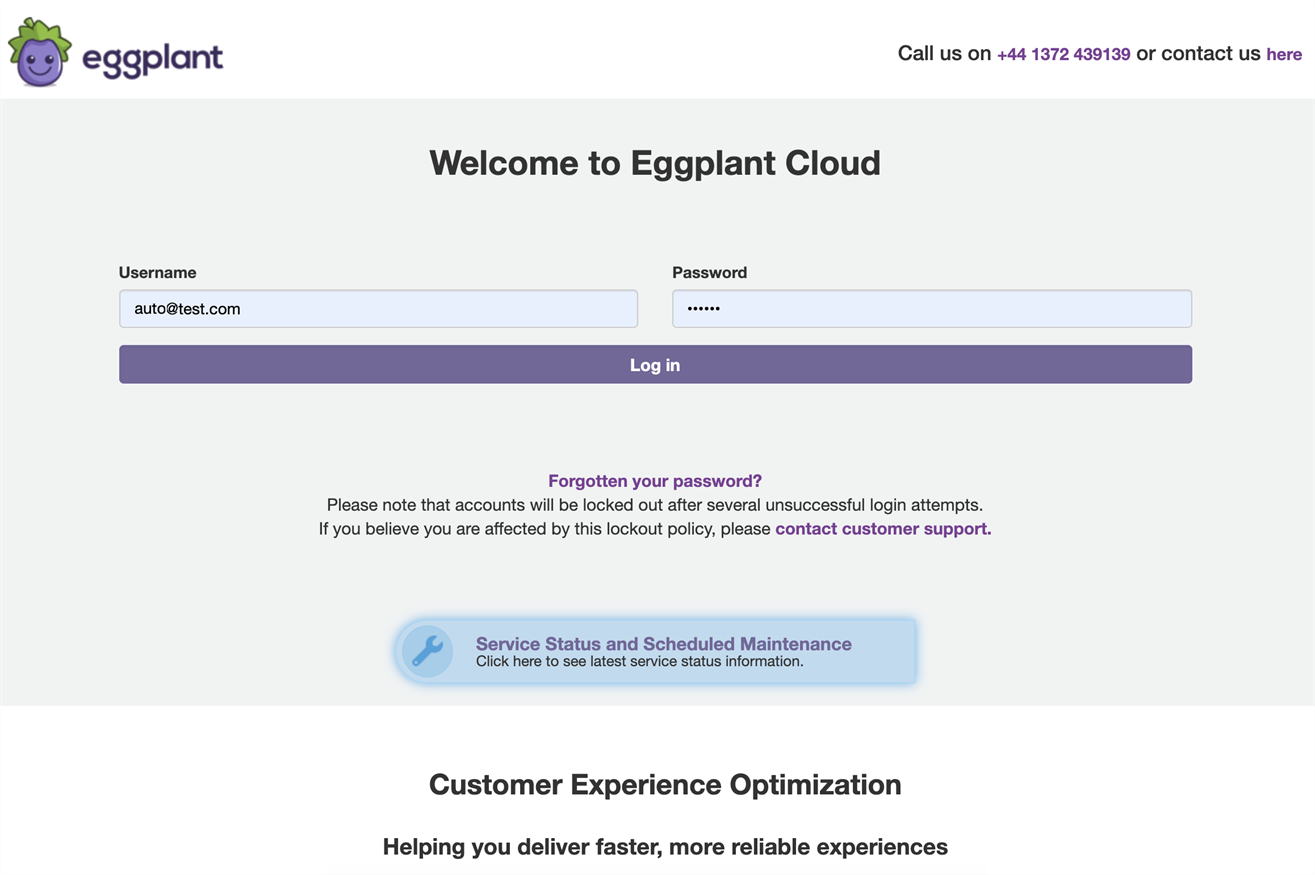
The Passport login page
-
Enter your username and password, then click Log in.
noteYour Account Manager should provide the URL and login credentials to access the Eggplant Monitoring Portal.
The Eggplant Portal Hub, also the landing page for all the modules in Eggplant Monitoring is displayed.
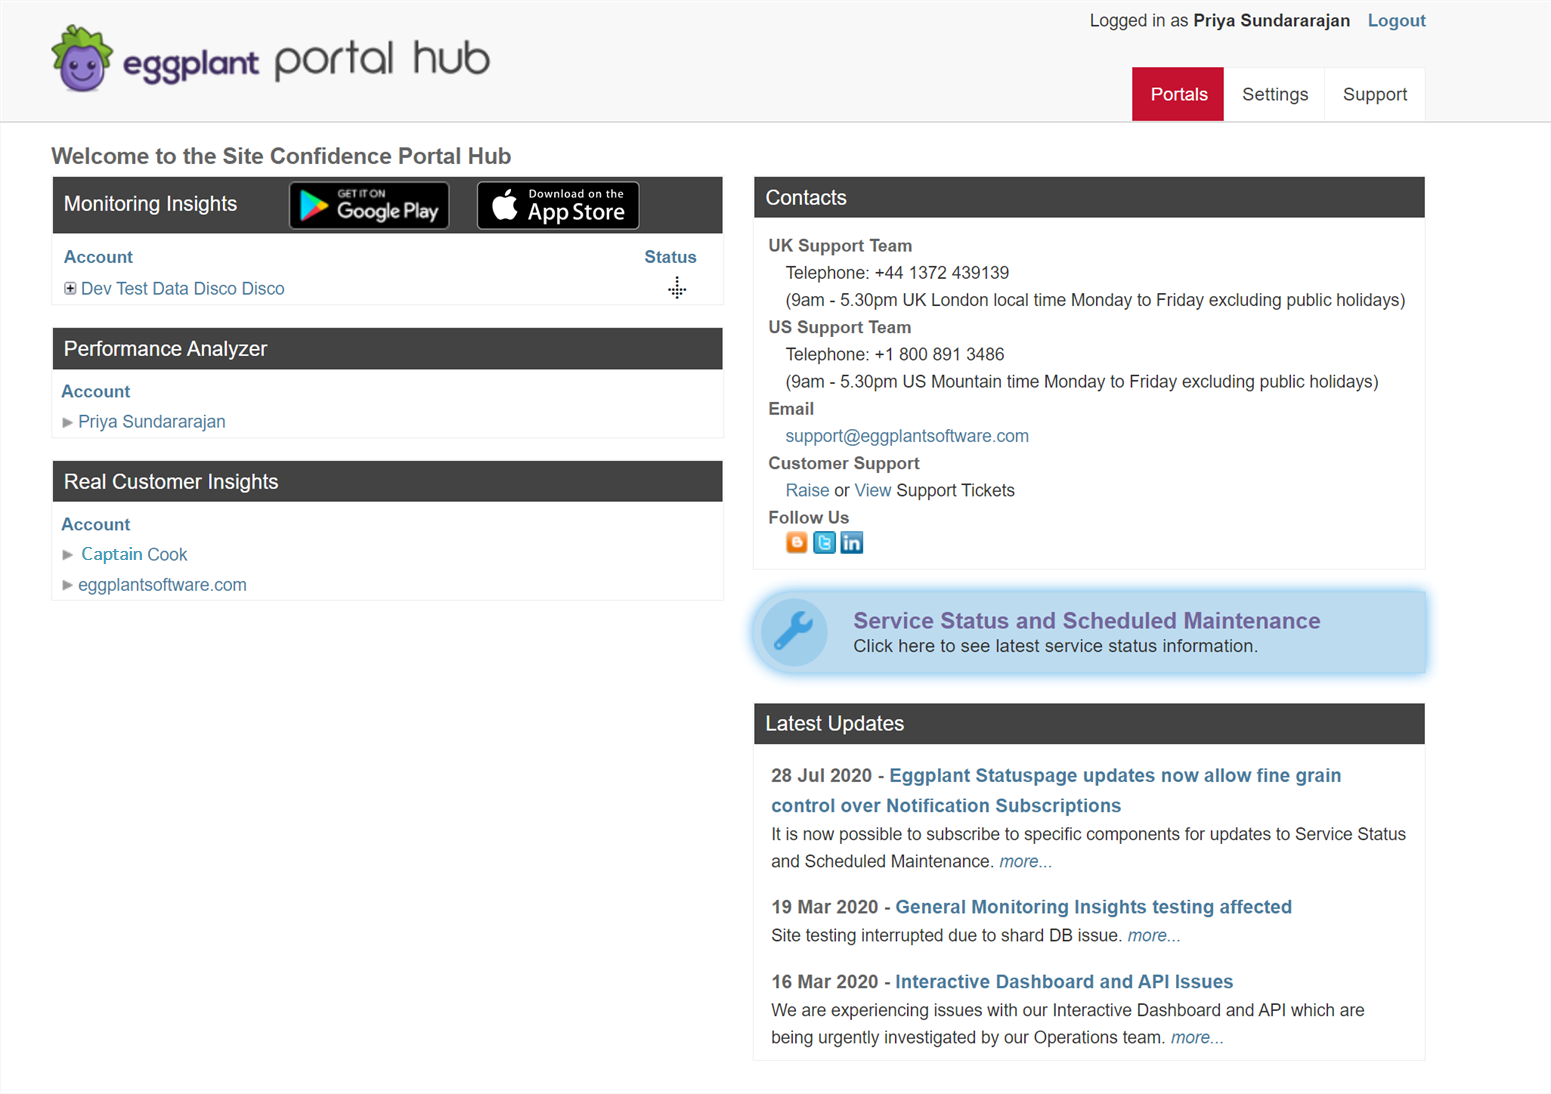
The Eggplant portal hub
The modules that you see on the landing page depends on your passport settings that can be configured on the Settings page.
Touring the Eggplant Portal Hub
The modules in the Eggplant Portal Hub are divided into several panes that are described below.
Eggplant Monitoring Pane
The Eggplant Monitoring pane lists all the monitoring accounts that you have access to. It also provides a quick overview of any issues on any of the monitors in this account, if applicable.
To begin using, click your preferred monitoring account to navigate to the landing page of that account in Monitoring Portal.
The monitoring account will display a green check mark next to the account if all monitors in the account are working fine, but if it has any monitors with errors, then it will display the relevant Severity codes. To view monitors with error status, click the + symbol.
You might also want to watch the training videos to get an overview of Eggplant Monitoring. Note that the exam at the end of the training is completely optional.
Management Reports
Use Management Reports to generate a suite of reports based on the Eggplant Monitoring data. For more information, see Management Reports.
Performance Analyzer
Performance Analyzer has been deprecated. For more information, contact Eggplant Customer Support .
Real Customer Insights
Real Customer Insights (RCI) is another Eggplant product that enables you to gather valuable insights to understand how your website performs in terms of conversion, bounce rate, user engagement, and revenue. Contact Eggplant Customer Support for more information on RCI.
Contacts
The Contacts pane displays the main contacts and current service information, including the Eggplant Customer Support phone numbers for both UK and US offices.
The Email link will open your default email program with the To field already populated with the Eggplant Customer Support email address.
Use the Raise Support Ticket or View link to create or view a support ticket.
Service Status and Scheduled Maintenance
Click the Service Status link to view the current Service Status details, which normally takes you to the Status Page.
Latest Updates
This section provides links to recent service announcements. To view the complete announcement text, click the announcement that you wish to read.
Settings
The Settings tab at the Portal Hub level controls the passport details for the current user. You can choose a Monitoring account and a page within that portal to open by default when logging in with the current user account.
Change Contact Details
The Change Contact Details page lets you edit your contact details.
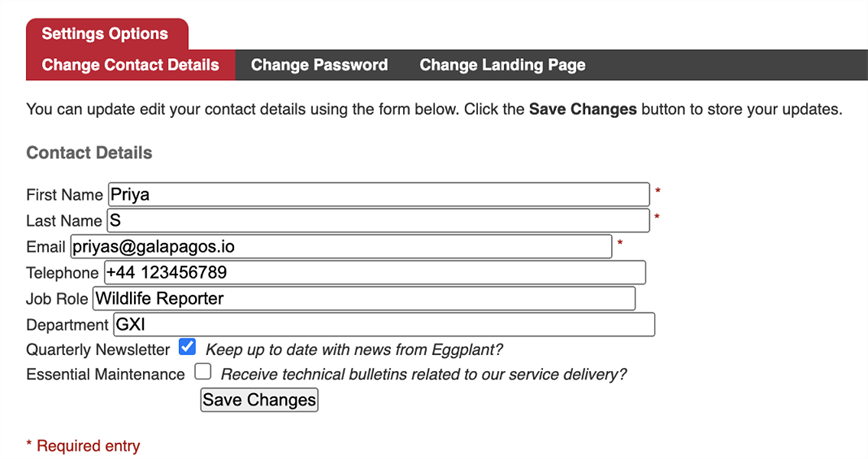
Portal hub Settings Options, Change Contact Details tab
Make the necessary updates and click Save Changes to save the updates.
Change Password
The Change Password page is where you update your login password to access the Monitoring Portal.
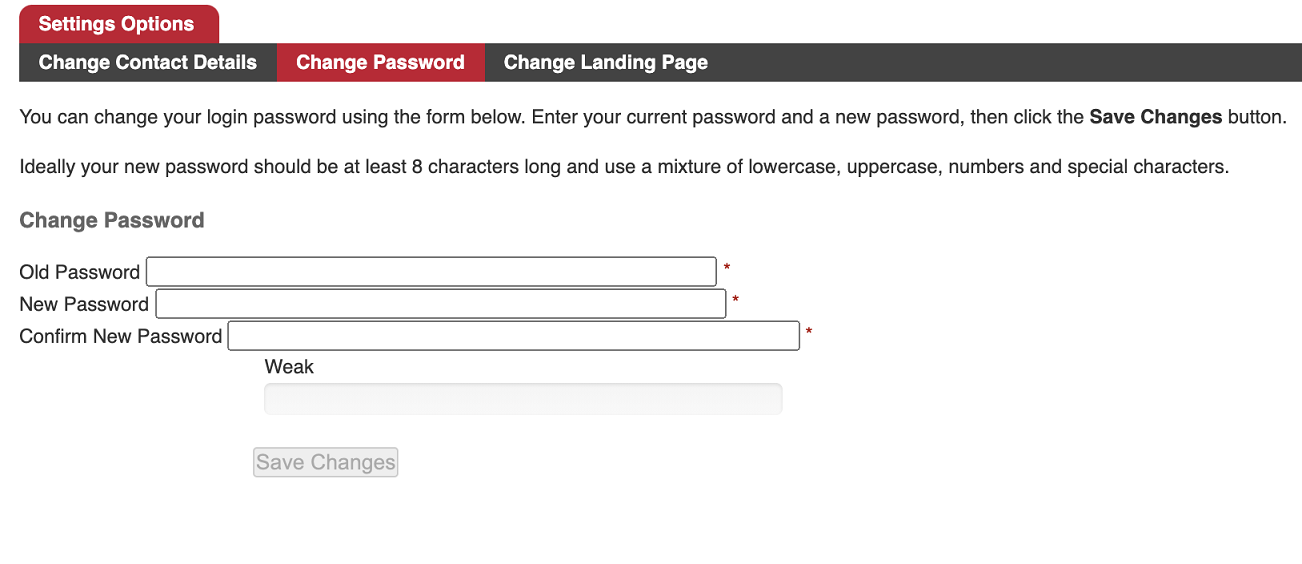
Portal hub Settings Options, Change Password tab
Make sure that your new password is at least 8 characters long and contains a combination of lowercase, uppercase, numbers, and special characters. Note that the progress of Weak bar depends on the strength of your password selection, which is represented using three different colors:
- Red for weak
- Amber for medium
- Green for strong and very strong
Change Landing Page
You can customize your Landing Page to navigate to the account and report of your preference directly after logging in.
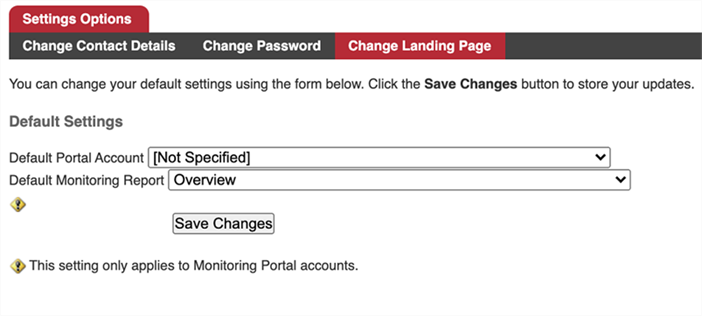
Portal hub Settings Options, Change Landing Page tab
To update your Landing Page, follow these steps:
- Select your preferred Default Portal Account in order to make it your landing page.
- Select the Default Monitoring Report from the options in the drop-down list to load that report instead of the default Overview page.
- Click Save Changes. The Landing Page should reflect your recent changes.
Setting both Default Portal Account and Default Monitoring Report options lets you navigate directly to the default report specific to the default account.